MAKE YOUR OWN PRIME CUT!

Ever aged your own meat??

The trick is to let the steaks get really dry as they age, which’s intensifies their flavor!

Let the steaks set in a clean fridge for two to seven days, allowing air to circulate them—do not add salt yet-as this draws out the juice.

That’s it! Season, and cook as you do normally, and taste the difference in your own, aged steak.

CHICKEN TENDERS & GRAVY

INGREDIENTS

1 to 2 lbs. Chicken Tenders

Gallon Zip Lock Bag

12” Heavy-Bottom Fry Pan

1/2 C. Corn

Tongs

Baking Sheet & Cooling Rack (for done chicken)

Marinade: 2 T. Kosher Salt, 1 T. Onion Powder, 1 T. Crushed Sage, 1 T. Dried Thyme, 2 t. Spicy Paprika, 1 C. Olive Oil, 3/4 C. Honey, 1/4 C. Mustard (prepared)

Gravy: 1/4 C. Flour, Salt & Pepper, 2 C. Milk

DIRECTIONS

1. Place dry marinade ingredients (To taste, or use your favorites.) in gallon bag; then the wet—squeeze bottom of bag to mix ingredients.

2. Place tenders in marinade bag mixing again at bottom of bag making sure there’s enough marinade in bag to coat tenders well. If there’s not quite enough, add more wet ingredients to coat. (Change up spices and herbs if desired—leave out honey & add more oil, or vise versa—if you omit olive oil, you may need more than 1/2 C. corn oil to sauté tenders.

3. While tenders marinade in the bag on the counter, place heavy-bottomed pan on burner, and turn on high (A cheap, thin pan cannot stand high heat and would burn the meat.)

4. Add corn oil—give pan three mins, or so, to get really hot; just before the pan starts to smoke, pull tenders out of bag leaving excess marinade behind, and add to pan in a single layer. If pan doesn’t make a loud crackle when rip of first tender touches, remove, and wait for pan to get hotter!

5. Once pan is hot enough, you can crowd the tenders into the hot pan, but adjust them to one layer—do two batches if needed—you want a nice, brown sear on each side, but they don’t take long to cook!

6. Don’t try to move them for four to five mins, but keep an eye on them, and flip sooner if they look to be getting brown faster, but If you mess with them TOO soon, they won’t develop a nice sear and release from the pan—they’ll stick; once they’ve browned well, they will be easy to turn. Remember to adjust the heat!

7. Once you’ve flipped all the tenders, preheat oven to lowest setting just to warm—usually 170 degrees F., and place the cooling rack on baking sheet—place sheet & rack onto top rack in oven.

8. Place each nicely-browned, but still-moist tender on the rack that’s on the sheet that’s in the oven one by one.

9. Turn oven off before it gets too hot! It’s super easy to over cook chicken tenders—they should be moist and juicy. You’re just keeping them warm.

10. Once the last tender is in the oven, turn burner on again—there should be 1/2 C., or so, of oil in and some brown bits of flavor left in pan.

11. Add flour to medium hot pan and stir to cook slightly cook it then add 1/2 C. of the milk stirring constantly. Keep stirring, and adding the milk 1/2 C. at a time to keep lumps from forming.

12. Add salt and pepper to taste. I like gravy on the thinner side, not the old fashioned thick, goopy stuff. If the brown bits, and herbs are too much, at this point, you can pour it through a sieve, and have a beautifully-tasty batch of gravy. You’ll never buy another packet again!

YEAST BREAD W STAND MIXER

UTENSILS AND VESSELS

Stand mixer, rubber scraper, measuring cups and spoons, or a teaspoon and coffee cup, sieve/sifter(I think a sieve is faster.), big mixing bowl, flat stoneware, or cookie sheets.

INGREDIENTS:

10 C sifted flour (all purp)

1 C warm water (100 to 110 degrees F,

2 t., or 1 packet dry yeast, not instant

2 t. Sugar

1 T. Kosher salt

1/4 C. EV Olive oil

4 to 8 C. Cold fresh water

REMEMBER: The measurements are only guidelines! Your bread will slightly differ each time, depending on humidity, flour brand, your altitude…, so adjust the amount!

1. Add warm water to stand mixer bowl. I add cold water if it seems too hot. It’s important not to kill the yeast, and you will add more cold water later anyway.

2. Now sprinkle the yeast over the surface of the warm water in mixer bowl. Then sprinkle the 2 t. of sugar on the semi-foamy mixture. This will help speed the development of the yeast.

3. While yeast comes to life at bottom of stand mixer, sieve the flour into big mixing bowl. Add remaining sugar, and the salt to flour and whisk.

4. Using the dough hook, seat your stand mixer bowl, lock the stand down, and turn it on low. Now add dry flour mixture to yeast mixture a cup at a time.

5. When it’s well mixed and gets stiff, add another cup of cold water, and the olive oil. You may need more than one cup of water!

6. At this point, you can play with the amount of water, flour, AND olive oil. I like to end up with a full bowl of silky bread dough, but if you only want half a bowl, that’s fine—the yeast will make a bigger bowl rise just fine.

7. Make sure the dough is silky and semi-wet. When you lift the hook, the dough should want to do a silky, moist dough ball but want to stay in the bowl, and it should be dry enough to not stick all over the to hook when you lift it. This is the most crucial step! Silky, wet ish, not too dry—hugging the hook when you lift it from bowl—but not so wet it’s sticky and won’t form into a ball—just add more flour, OR water to get it perfect!

8. Once you feel good about the texture of your dough, let it knead on med-low while you lightly dust your rolling surface with flour from the sieve/mixing bowl.

9. Turn your dough ball onto floured rolling surface. Knead just to make dough ball look smooth—seems on bottom. Add 1 T. Olive oil to bowl in which dough will rise—I use my just-used stand mixer bowl, cause anything still in it will become part of the dough once it has risen!

10. Add dough ball, bottom side up, to oiled bowl and flip it right side up and around, so the ball is lightly covered in the oil. Place a clean kitchen towel over bowl to stop drafts, place in a warm ish, dark place to rise for one to two hours—the longer you let is rise, the lighter it, and more tender it will be—it also depends on weather you want smaller loaves, pizza dough, or hoagie buns!

11. Let the dough rise a total of two hours—for pizza dough, it can rise two whole hours right in the bowl. Then you separate into equal size balls while you shape each one with your hands; dough should be tender and easy to work with.—I put the covered dough in the oven with a hot bowl of water.

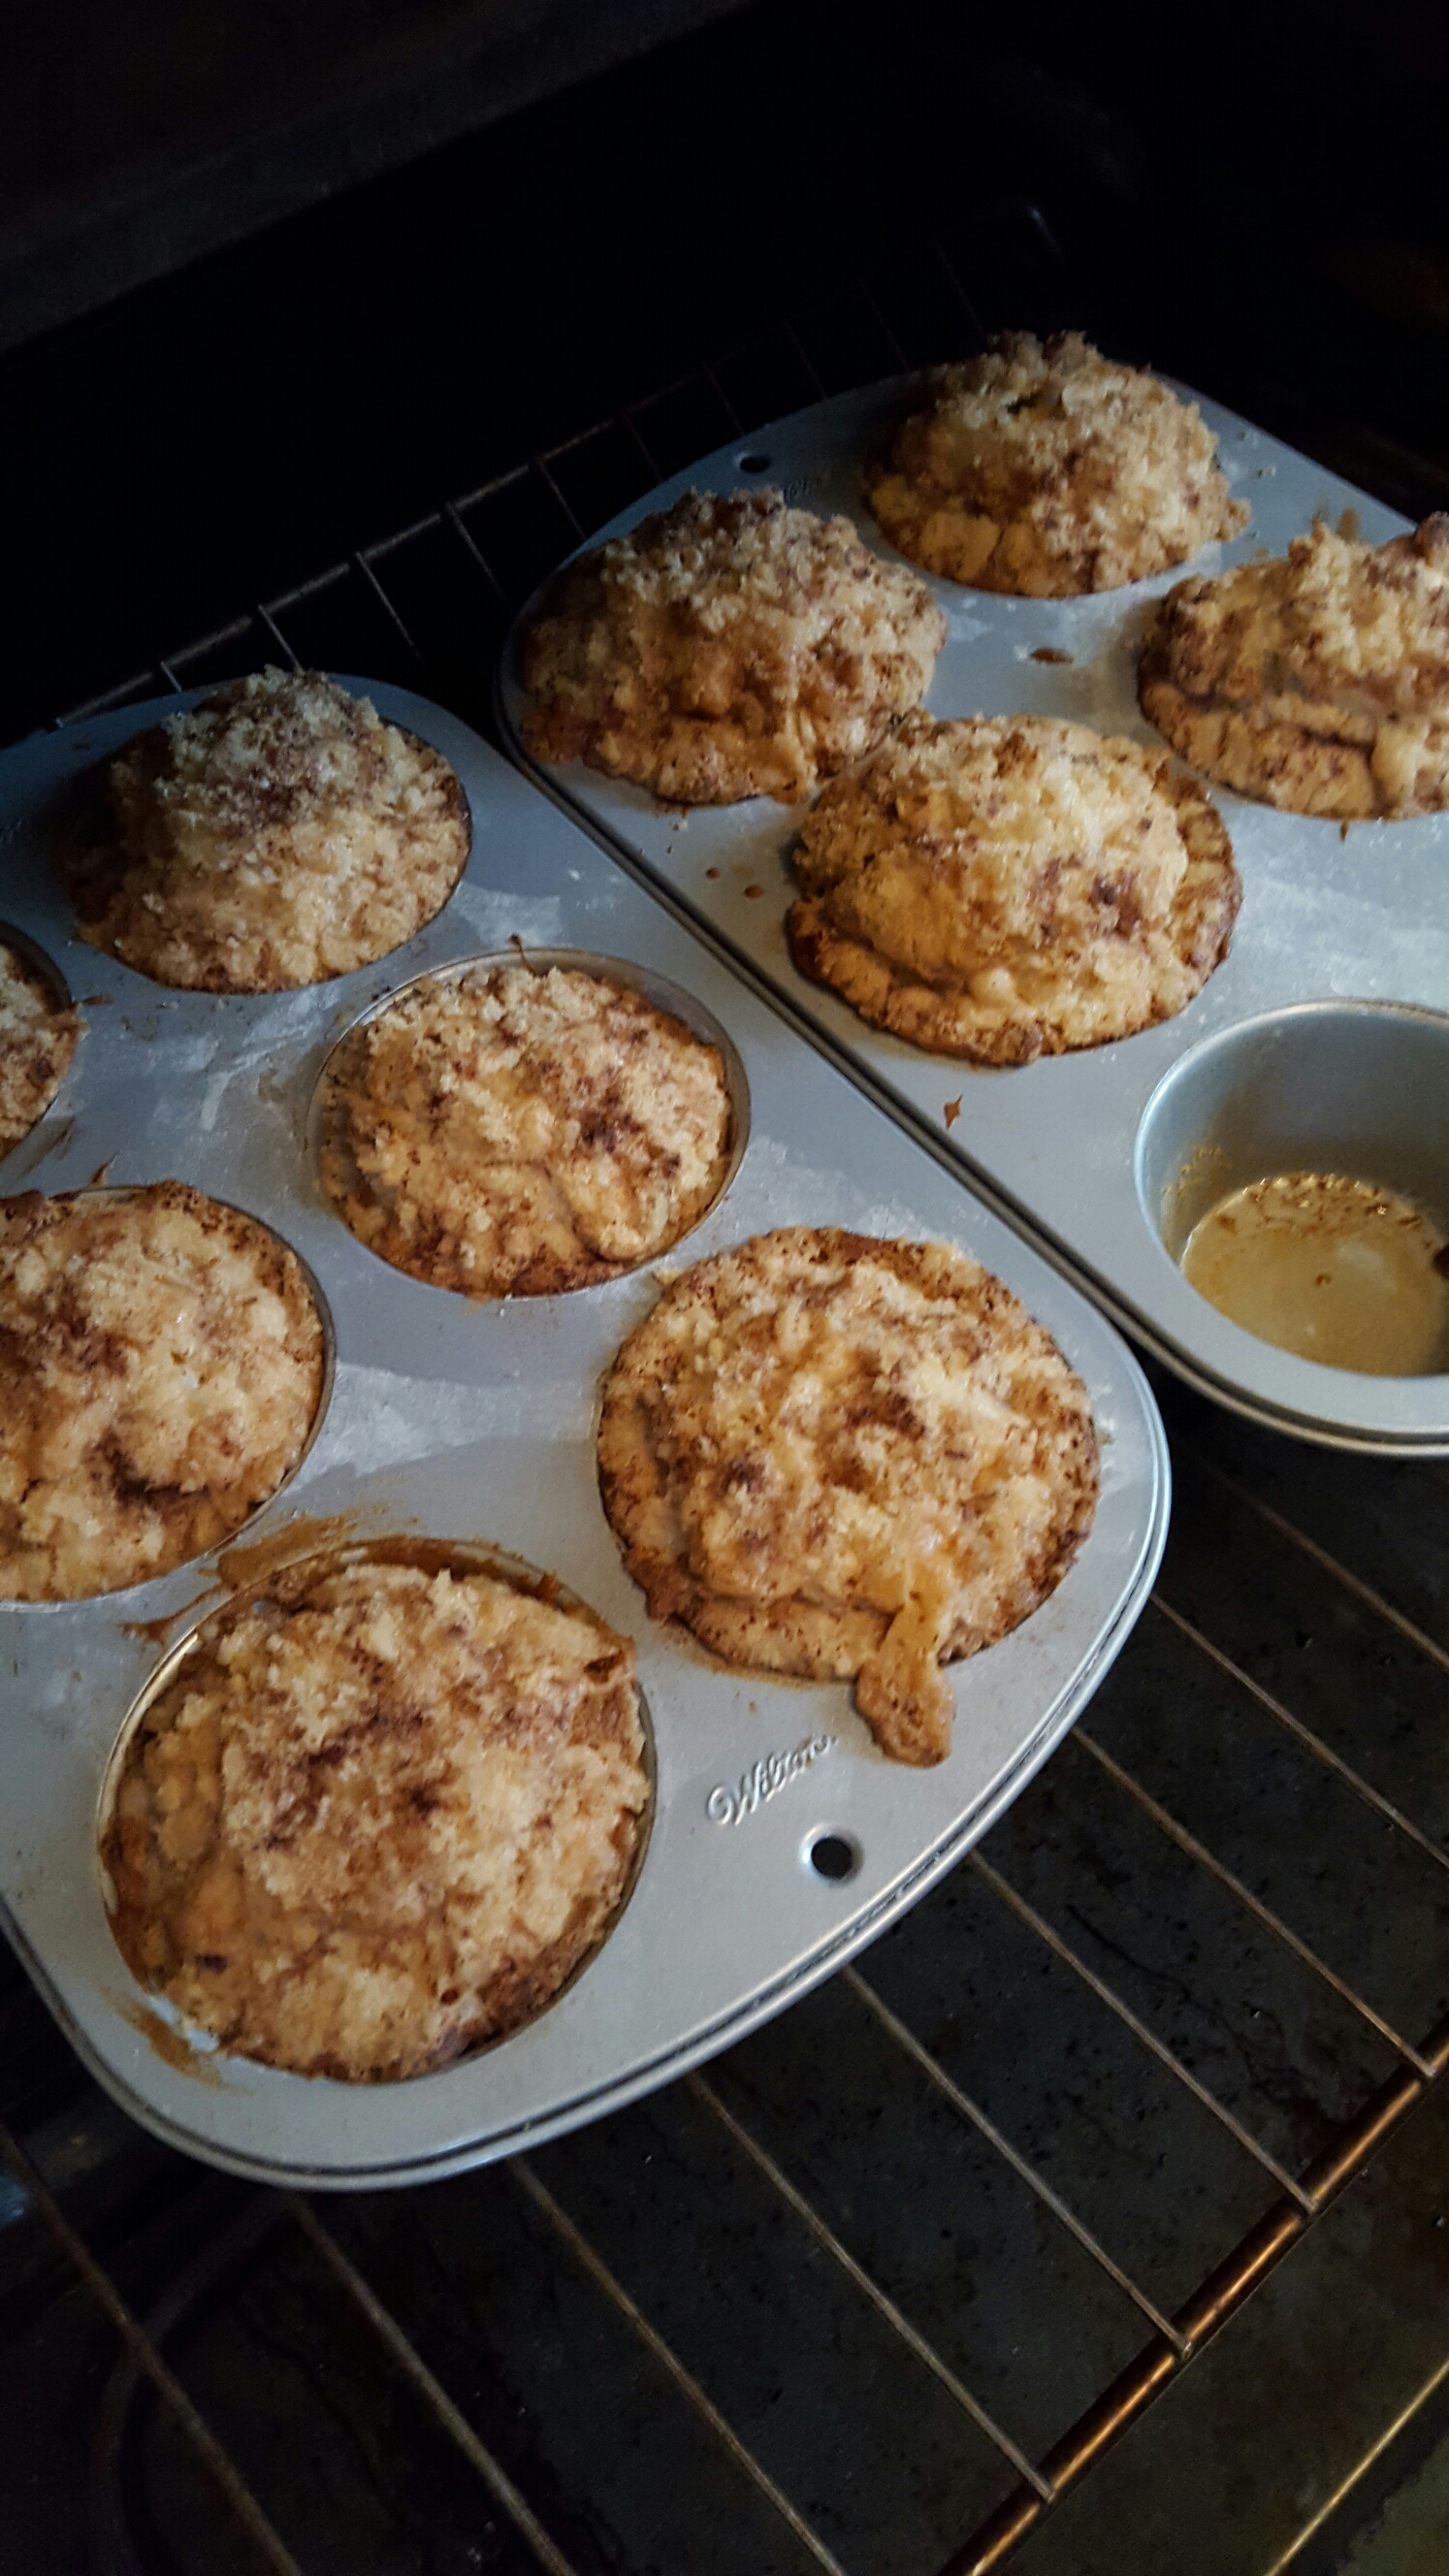
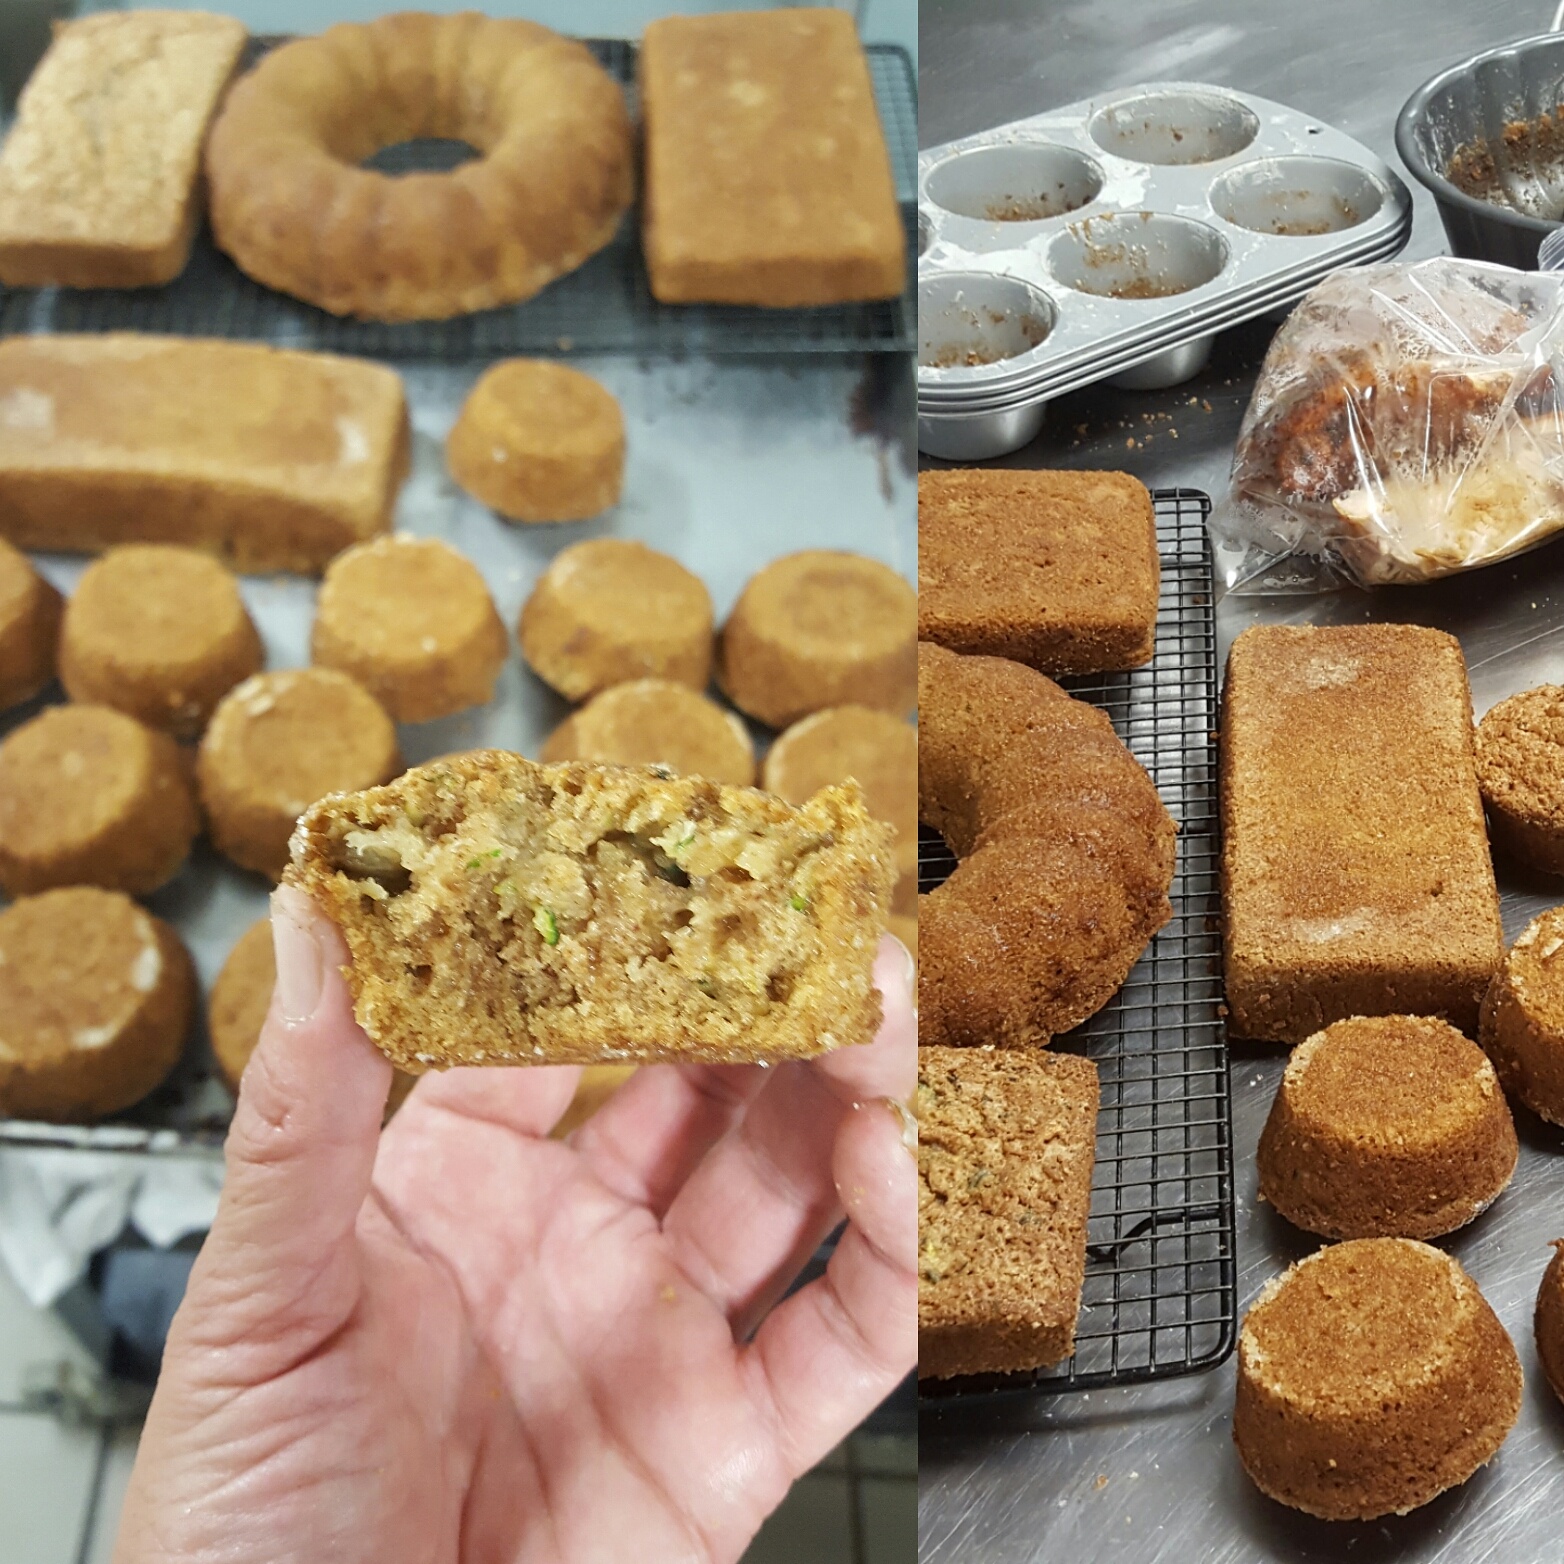
12. If you will shape your bread, let it rise for 1-1/2 hours, then divide dough into equal, desired-sized balls—in half then half ball again… Start with the first ball you rolled, and shape and roll into desired-sized shapes, leaving any seams on the bottom, and place each shape, or even one big round loaf, on your baking vessel—with multiple shapes—leave 2” of space for the second rise. Here is where you make slits, or add corn meal, or more olive oil for shine to top surface of dough for flavor—salt tends to deflate the loaves.

13. Place round loaf, or pans of buns back into oven with new hot tap water to rise another hour.

14. When loaf/loaves have risen nicely—may take less time, or more—remove from oven to preheat. Preheat to 415 to 425 degrees leaving bowl of hot water on bottom of oven-moisture make your crust nice, and bread doesn’t dry out! Bake only 10 to 20 mins. In small home oven, I bake one tray at a time; it takes longer trying to rotate them I’ve decided. After ten mins, or so, I turn the bread from front to back for even cooking. Bread is easy to tell when done. It’s not like cake. If one side browns more, flip the bread and cook another minute or two—don’t over bake! Cut one end piece using a serrated knife while it’s still warm, slather with butter, open your mouth, close your eyes, and enjoy how worth the time it was. Share with people you love, and feed their soul.😘

ROASTED CHICKEN

Roasting a whole chicken is about the easiest way to get some delectable pieces of chicken into your mouth! So why does it seem as if it’s the scariest? Maybe because you haven’t tried it yet!

1. Take chicken out of fridge about an hour before roasting time. (This allows the old biddy to loosen up and absorb your seasonings better.)

2. Decide what combo of spices to use—I never use ‘mixed’ spices like, ‘Italian’ Seasoning, ‘Grill’ seasoning, or even ‘Chile.’ I’d rather buy individual spices, and mix them myself. You can taste the difference!

3. Preheat oven to 400 F and place top rack in center of oven.

4. Mix your spices in a bowl. About a quarter cup of salt for a whole bird, or three tablespoons (same if you ever use brown sugar), and one T. each of dried herbs, and/or spices. (I used brown sugar and onion powder besides salt on this bird.) Make sure you make plenty! If you have extra, store in freezer to use next time.

5. Using paper towels, make sure your bird is dry—inside the carcass too, which will make a crispier, better-browned skin.

6. Rub your spices all over the bird—inside and out.

7. Place bird, breast up—tips of wings should point upwards—on a very shallow pan. The whole bird gets brown that way!! I do my turkey that way too.

8. Place in the 400 degree oven on the middle rack: in one hour, give your chicken a 180 degree turn—meaning spin your vessel one half circle, so the chicken browns evenly.

9. I usually end up cooking the bird an hour and a half (1-1/2 hours) to two hours total. If chicken is looks too brown when you check it after an hour, Step 8, you can lower the temp 25 degrees—I’ve even taken out the chicken and lowered the rack (the skin will brown slower.) It depends on your oven too.

10. The opposite is also possible! If your oven doesn’t get hot enough, and you don’t turn UP the temperature, your bird may not be done OR browned after 2 hours! That’s where sticking to a recipe can kill your meal, so just use instructions as a guideline!

11. She’s done when the juice is completely clear, AND you can grab the end of a leg, and it moves really easily; feels like you can pull the bone out.

12. Don’t get nervous if common sense tells you to cook it longer, or on a higher temp! Let chicken set for 15 minutes; this allows the juice to absorb back into the meat, instead of losing it! Enjoy.